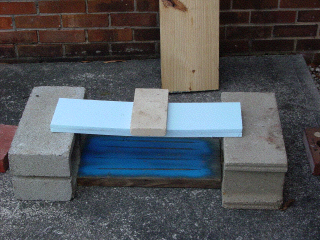
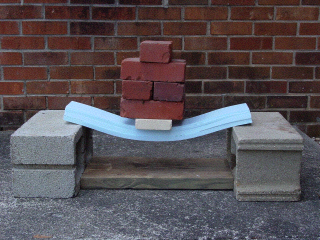
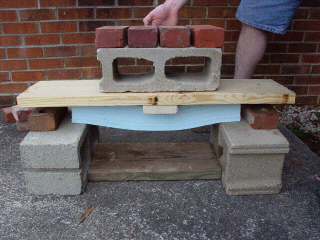
The setup for both the low and high Section Modulus beams. The lower SM beams won't support as much weight, so the balancing pieces are not used as they are in the higher SM beams.
These are the results of testing the sample beams you saw in the gallery:
The setup for both the low and high Section Modulus beams. The lower SM beams won't support as much weight, so the balancing pieces are not used as they are in the higher SM beams.

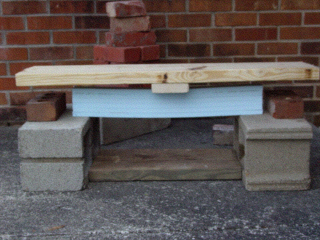
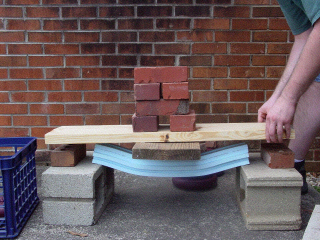
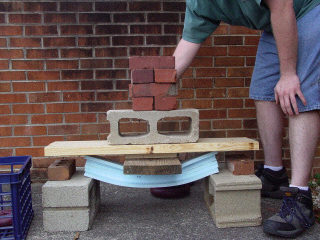
The 2x12 beam has a low SM, so it fails easily. Note that this beam fails in deflection mode, not by breaking. This is because of the high elasticity of the foam.
In order to show the deflection of this beam, we substituted in bricks to match the weight of spreader board, but it did fail in deflection with the spreader board in place.
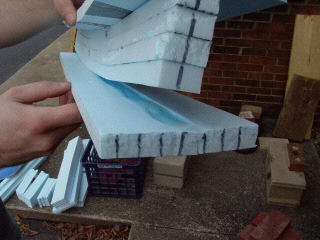
This beam delaminated, followed quickly by breaking. The beam delaminated because of the difficulty in lining up the bottom 'feet' with the upper portion of the beam. The load made the beam bend inwards.

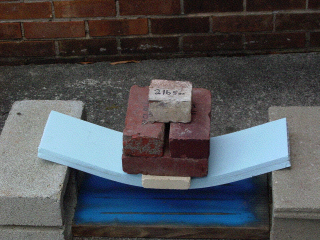
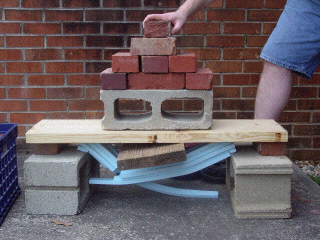
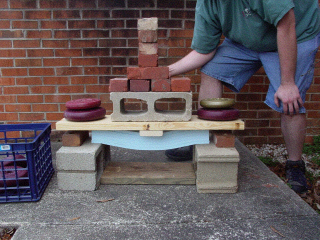
To more easily see the deflection occurring in this beam, we did not use the speader board. But, you can see that this beam does support a lot of weight before finally failing.
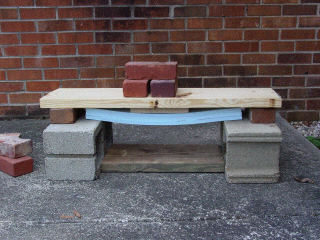
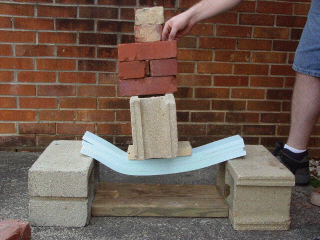
While this beam has a SM lower than that of the I-beam below, it supports more weight because of the I-beam's tendency to fold left or right around the centre.

The I-beam failed due to difficulty in balancing the weights over the center, and faulty gluing of the top and bottom layers to the central support.