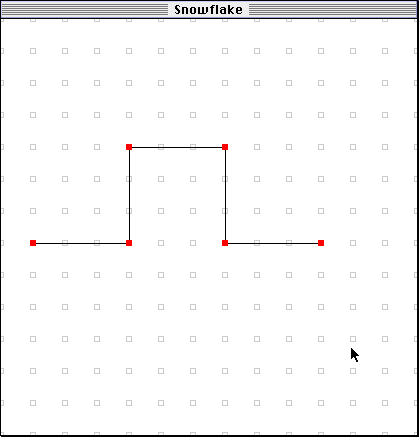
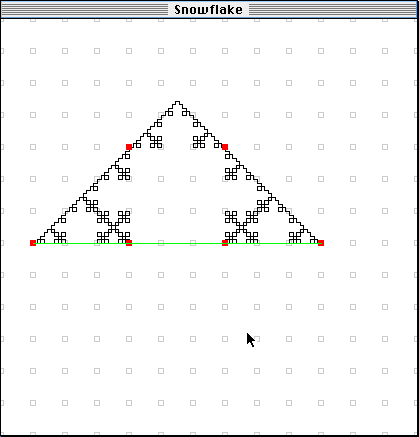
- Have the students open (or create for themselves) a Snowflake pattern with the
following specifications. Use 6 control points (set this under the Snowflake
menu). Set Grid Size to large,
Grid Shape to Square, and make sure Snap to Grid is checked (these are all in the
Options menu). Put the first (the leftmost) control point on a grid point near the
left edge of the screen. Put the second control point three steps straight to the right of that
(that is, on the same level vertically).
Put the third point directly above the second,
three gridpoints away. Put the fourth point three points to the right of that. Put the
fifth point three down from the fourth. Put the sixth point three to the right of
the fifth. (The pattern should be right, up, right, down, right.)
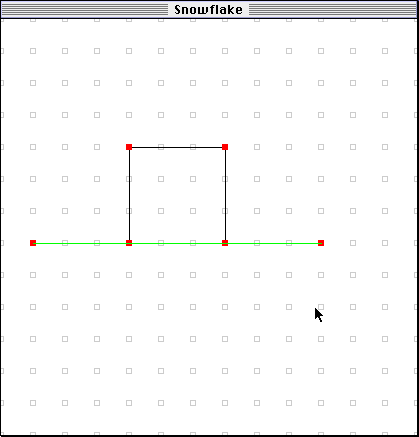
- Once the curve is properly set up, they should save it so that they can return to it later if they wish to.
- Have them set the iteration number to one. At this point, the picture on their screen should be something like this:
The Big Picture
The idea of an amount increasing step by step and either getting closer and closer to a particular number or growing without bound is an important concept in mathematics. It is also a fascinating idea all by itself. The fact that we have discovered ways of dealing with such things is an important achievement in mathematics, and took many decades to develop.
Thinking Harder
Possible extensions to this activity include- Calculating the difference between the area bounded by the curve and the area of the "limiting triangle" by drawing the triangle around the various iterations and adding up the area of the remaining spaces.
- Showing how we calculate the sum of an infinite series by, for example, showing how to find the fraction represented by .333.....
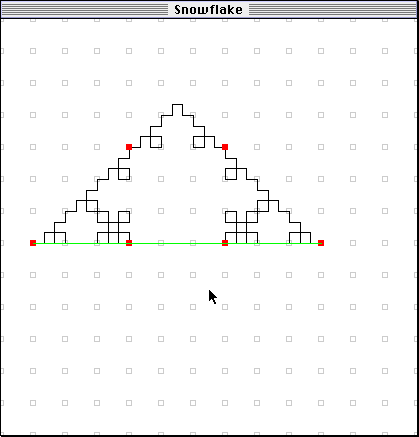
- Discussing the fact that the length of the curve goes to infinity as the number of iterations goes to infinity.
Return to the Help Index.